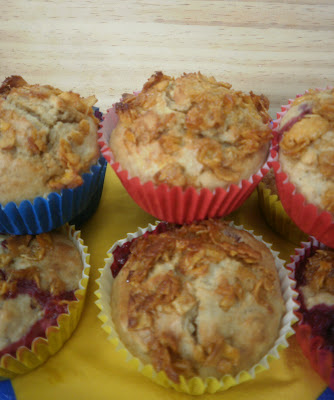
While updating my recipe index recently, I noticed that I have shared more muffin recipes than any other yummy dish. So, I thought I’d put together a “best of” post, so you can enjoy a colourful variety of muffins together in one place. I love muffins because they are a yummy, healthy treat and I […]
Archives for August 2012
Nutritional Yeast French Toast
August 27, 2012 by
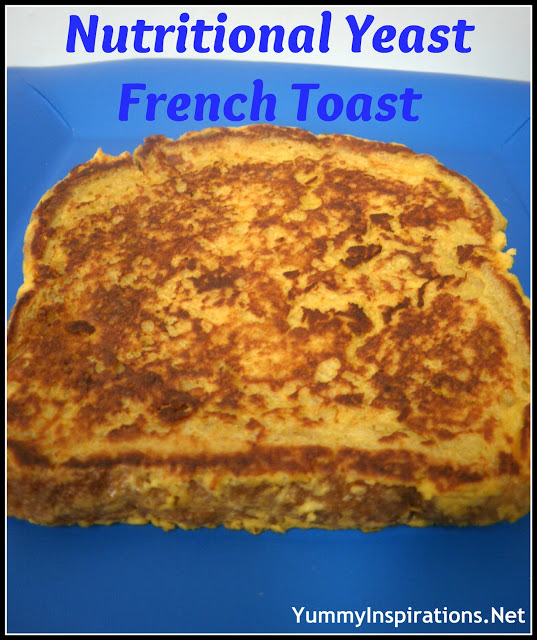
This blog is turning into a bit of a French Toast wonderland of late. Recently I shared my unusual (yet delicious!) “Burger French Toast” concoction and now my latest French Toast offering is Nutritional Yeast French Toast. Another delicious dish that also happens to be jam packed with nutritious ingredients in every corner. Like carob, […]
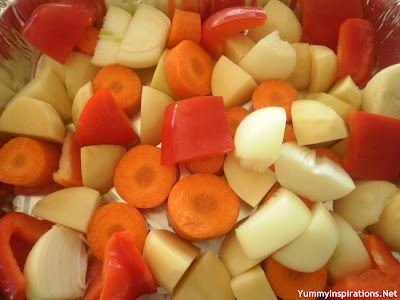
Hash Brown Cake (Potato Kugel)
August 26, 2012 by

My kids ADORE Hash Browns, so I thought I’d treat them to a Traditional Jewish Dish “Potato Kugel”, which is really like a giant Hash Brown which is cooked in the oven. In fact, on seeing the finished dish, Mr 4 decided it was a Hash Brown Cake – so this recipe has two names. […]
Pistachio Cookies
August 17, 2012 by
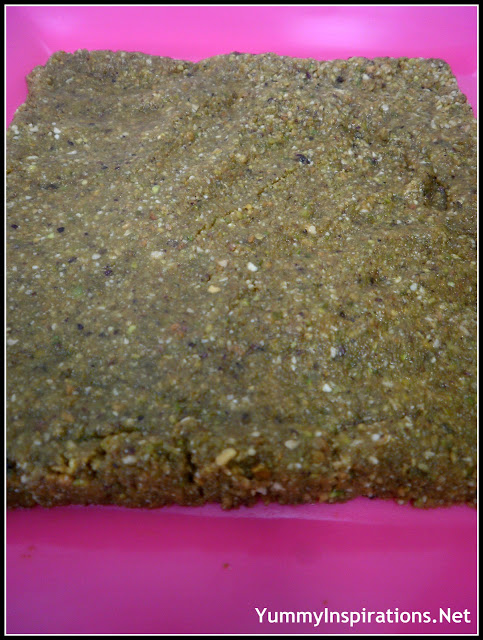
I made Pistachio Cookies today and they were so unbelievably delicious that I was compelled to come straight to the computer to share the glorious details with you. In our house, Fridays are the one treat day of the week, so I like to try different treat recipes for the family. As I’ve mentioned previously, […]
Life without a Microwave…
August 15, 2012 by

Recently, Our Microwave started making a strained noise that I just didn’t like. We’ve had it for a while now and really need a new one. BUT I have been thinking a lot about it and discussing it with my Husband that maybe we shouldn’t buy a new Microwave, maybe we can do without […]
Carob Banana Milkshake
August 9, 2012 by
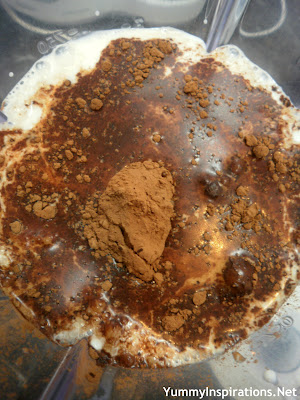
This Carob Banana Milkshake has the flavor you’d expect from a Choc Banana Milkshake while being full of Carob goodness. I have only begun experimenting with carob in the past couple of months after sampling a little at the Good Food & Wine Show a couple of months back. You see, I had a bad […]
Quinoa, Oat & Coconut Cookies
August 7, 2012 by
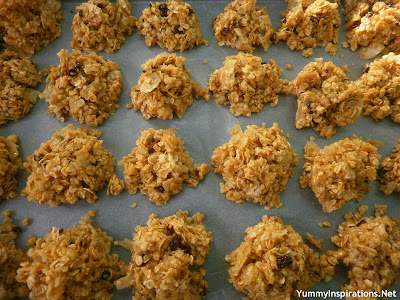
These cookies are homely, wholesome and oh so good for you! They are packed with nutritious ingredients and the whole family just adores them. The nutty flavor of Quinoa gives an incredible depth to these humble cookies, while bringing the nourishment of the super-food. They have been so popular that the past month I have […]
Whole Foods on Holiday
August 3, 2012 by
You may have noticed that things have been a little quiet on my blog the past few weeks. That’s because I’ve been away on holiday. We took the kids to Broadbeach on the Gold Coast in Queensland. It’s about a 2 hour flight away and the weather is delightfully warmer than it is here in […]